7 Best Lighting Techniques for Visual Impact
Why it matters: You can transform any ordinary space into a stunning visual masterpiece by strategically combining light sources with shading techniques.
The big picture: Smart lighting integration doesn’t just illuminate your space—it creates depth, drama and sophisticated ambiance that elevates your entire design aesthetic.
What’s next: These seven proven techniques will help you master the art of blending natural and artificial light with various shading methods to achieve professional-level results in your home or workspace.
Disclosure: As an Amazon Associate, this site earns from qualifying purchases. Thank you!
P.S. check out Udemy’s GIS, Mapping & Remote Sensing courses on sale here…
Understanding the Fundamentals of Light and Shadow Integration
Mastering light and shadow integration requires understanding how different light sources work together to create depth and visual interest. You’ll need to recognize the interplay between primary illumination and subtle accent lighting to achieve professional results.
Identifying Primary and Secondary Light Sources
Primary light sources serve as your main illumination foundation, typically including overhead fixtures, table lamps, or natural sunlight streaming through windows. These sources provide the bulk of your room’s brightness and establish the overall lighting mood.
Achieve a flawless, even complexion with e.l.f. Flawless Satin Foundation. This lightweight, vegan formula provides medium coverage and a semi-matte finish for all-day wear, while hydrating your skin with glycerin.

Secondary light sources complement your primary lighting through accent pieces like wall sconces, LED strips, or task lighting. You’ll use these to fill shadows, highlight specific areas, and create layered lighting effects that work seamlessly with your shading elements.
Control these 100ft RGB LED strip lights via Bluetooth app or remote to customize colors and brightness. Sync them to music for a dynamic party atmosphere and set timers for automatic on/off.

Recognizing How Light Affects Form and Dimension
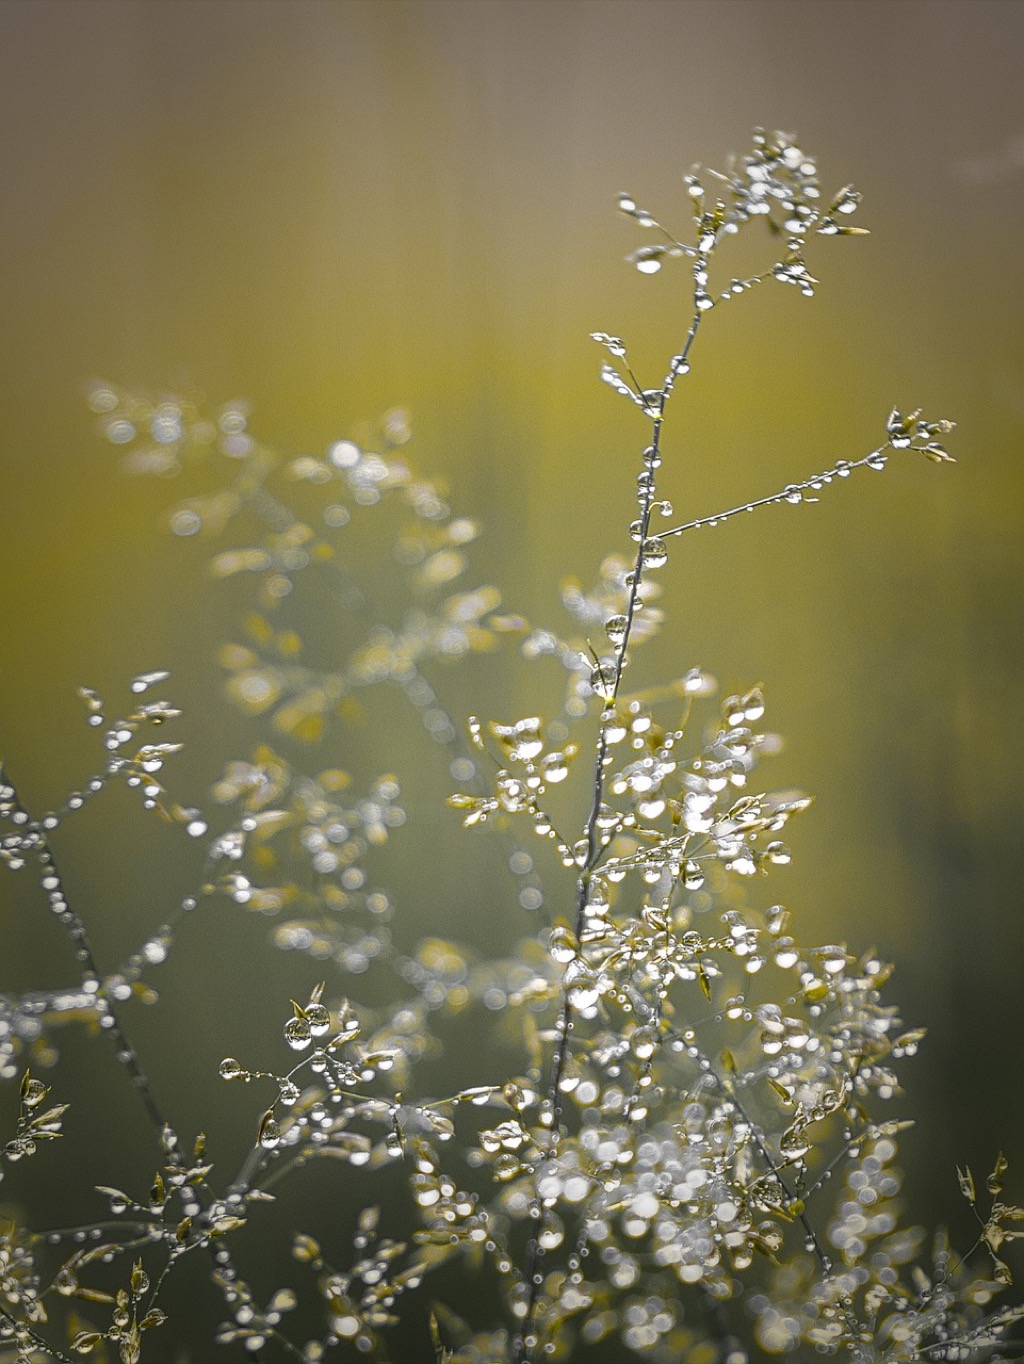
Light direction dramatically changes how objects and surfaces appear in your space, creating either harsh shadows or soft transitions depending on the angle. You’ll notice that side lighting emphasizes texture and dimension, while front lighting tends to flatten surfaces.
Shadow depth varies based on light intensity and distance from the source, allowing you to control the dramatic effect of your shading techniques. You can manipulate these shadows using blinds, curtains, or architectural elements to create specific moods and visual focal points throughout your room.
Creating Dramatic Contrast Through Strategic Light Placement
Strategic light placement transforms ordinary spaces into visually compelling environments through intentional contrast manipulation. You’ll achieve the most striking results when you position lights to create distinct zones of brightness and shadow.
Positioning Key Lights for Maximum Impact
Position your primary light source at a 45-degree angle from your main focal point to create dimensional shadows that enhance texture and form. Place secondary lights 6-8 feet away from walls to avoid harsh shadows while maintaining definition. Use uplighting behind furniture or architectural features to create silhouettes that add mystery and depth. Corner placement of floor lamps generates dramatic angular shadows that stretch across adjacent walls. Install track lighting at varying heights – position some fixtures 8-10 feet high and others at 6-7 feet to create layered shadow patterns.
Balancing Highlights and Deep Shadows
Maintain a 3:1 ratio between your brightest highlights and deepest shadows for optimal visual contrast without creating harsh extremes. Use dimmer switches to fine-tune light intensity and achieve the perfect balance throughout different times of day. Incorporate reflected light from light-colored surfaces to soften deep shadows while preserving dramatic effect. Position mirrors or metallic accents opposite key light sources to bounce illumination into shadow areas. Add accent lighting at 25-30% of your main light’s intensity to prevent complete darkness in shadow zones while maintaining visual drama.
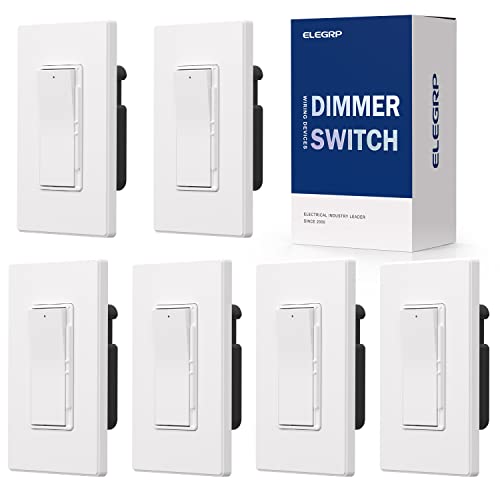
Control your lights smoothly with this digital dimmer switch. It's compatible with most dimmable LEDs (up to 300W) and incandescent/halogen bulbs (up to 600W), and features an optional locator light for easy use in the dark.
Incorporating Natural Light Sources for Realistic Effects
Natural light creates the most authentic shading effects when properly harnessed and controlled through thoughtful window treatments and outdoor illumination strategies.
Utilizing Window Light and Outdoor Illumination
Position your primary seating and work areas perpendicular to windows to capture optimal side lighting that enhances texture and depth. Install sheer curtains or light-filtering blinds to diffuse harsh direct sunlight while maintaining brightness levels throughout the day. Layer window treatments with blackout panels behind translucent materials to control light intensity without sacrificing the soft quality that natural illumination provides. Use mirrors strategically placed opposite windows to bounce natural light deeper into rooms and create secondary light sources that complement your primary window illumination.
These sheer curtains gently filter light while providing privacy. The set includes two 42" x 84" panels with rod pockets for easy hanging, adding an elegant touch to any living space.

Adapting to Changing Natural Light Conditions
Track your space’s natural light patterns throughout different seasons to understand how shadows shift and intensity changes over time. Install adjustable window treatments like cellular shades or rotating louvers that you can modify based on sun position and weather conditions. Supplement morning and evening natural light with warm-toned artificial sources positioned to mimic the sun’s path across your windows. Create lighting zones using dimmable fixtures that automatically adjust as natural light levels decrease, maintaining consistent shadow depth and visual comfort throughout the day.
Implementing Artificial Light Sources for Creative Control
Artificial light sources provide precise control over lighting conditions when natural light isn’t sufficient or available. You’ll achieve consistent results by mastering professional lighting equipment and creative filtering techniques.
Working with LED Panels and Studio Lights
This LED video light kit provides adjustable, high-quality lighting for various applications. It features dimmable brightness, multiple color temperatures (2800-6500K), and an adjustable tripod stand for easy positioning.

LED panels offer adjustable color temperature ranging from 3200K to 5600K, letting you match or contrast with existing ambient light. Position panels at varying distances to control shadow intensity—closer placement creates harder shadows while distant positioning produces softer transitions. Studio lights with barn doors and diffusion attachments give you precise beam control for highlighting specific areas. Use multiple panels at different intensities to build layered lighting schemes that enhance your shading techniques effectively.
Experimenting with Colored and Filtered Lighting
Colored gels and filters transform ordinary lighting into creative tools for mood enhancement and visual interest. Blue filters create cool shadows that complement warm natural light, while amber gels add warmth to harsh fluorescent environments. Colored LED strips behind translucent panels produce even background washes that enhance contrast ratios. Combine multiple colored sources at low intensities to create subtle color gradients in shadowed areas, adding depth without overwhelming your primary lighting scheme.
Blending Multiple Light Sources for Complex Compositions
Complex lighting compositions require strategic coordination of multiple light sources to create sophisticated visual depth. You’ll achieve professional-quality results by balancing primary and secondary lighting while managing color temperature variations.
Layering Primary and Fill Lights Effectively
Position your primary light source as the dominant illumination anchor while adding fill lights at 30-50% intensity to eliminate harsh shadows. Use table lamps or floor lighting as fill sources positioned opposite your main light to create balanced illumination. Maintain consistent spacing between light layers—place fill lights 3-6 feet from your primary source to prevent light competition. Test different intensity ratios using dimmer controls until you achieve smooth tonal transitions without losing dramatic contrast.
Managing Conflicting Light Directions and Temperatures
Coordinate light temperatures by grouping warm lights (2700K-3000K) together and cool lights (4000K-5000K) separately to avoid color conflicts. Install adjustable color temperature fixtures that let you match existing light sources throughout the day. Use neutral white surfaces as transition zones between different lighting areas to minimize jarring temperature shifts. Position conflicting light directions at least 90 degrees apart to prevent cross-shadows and maintain clear light separation zones.
Mastering Reflected Light and Ambient Lighting Techniques
Building on strategic light placement and source integration, reflected light and ambient lighting techniques add the final layer of professional polish to your lighting design.
Using Bounce Cards and Reflective Surfaces
Soften your flash and reduce harsh shadows with the Godox AK-R12 Bounce Card. It easily attaches to the Godox H200R Round Flash Head and V1 series flashes for versatile lighting control.

Position white foam boards or professional bounce cards at 45-degree angles to redirect harsh light into softer illumination. You’ll achieve more even lighting distribution by placing reflective surfaces opposite your primary light sources to fill in unwanted shadows. Mirrors and metallic surfaces create stronger reflections while matte white walls provide gentler bounce light. Use silver reflectors for cooler tones and gold reflectors for warmer ambient lighting effects. Position bounce cards 2-3 feet from your subject area and adjust the angle to control reflection intensity and coverage area.
Creating Subtle Fill Light Through Environmental Reflection
Transform your existing room surfaces into natural light diffusers by painting walls in light neutral colors like soft white or cream. You’ll maximize ambient lighting efficiency by choosing satin or semi-gloss paint finishes that reflect 70-80% of available light back into the space. Place light-colored furniture and fabrics strategically to create multiple reflection points throughout the room. Use white or light gray ceiling paint to bounce overhead lighting downward and eliminate harsh shadows on faces and objects. This technique works particularly well when combined with uplighting fixtures that direct light toward reflective ceiling surfaces.
Applying Advanced Digital Light Integration Methods
Digital integration methods take your lighting design beyond traditional techniques by leveraging technology for precise control and creative possibilities.
Digital Painting Techniques for Light Source Simulation
Digital painting software like Photoshop and Procreate offers sophisticated brush tools that simulate natural light behavior. You’ll achieve realistic light effects by using soft-edged brushes with opacity variations to replicate how light naturally diffuses across surfaces.
Layer blending modes such as “Screen” and “Overlay” create authentic light interactions with existing colors. Adjust brush flow between 10-30% for subtle light buildup that mimics real illumination patterns. Custom brush presets with scatter and texture settings help you simulate specific light qualities like sunbeams or artificial spotlight effects.
Post-Processing Tools for Enhanced Light Effects
After Effects and DaVinci Resolve provide powerful tools for enhancing your light integration work through professional-grade filters and effects. You can use lens flare plugins and light wrap effects to create seamless transitions between practical and digital lighting elements.
Color grading tools allow precise control over highlight and shadow temperatures, ensuring consistent lighting throughout your composition. Motion blur and glow effects add realism to moving light sources while masking tools help you selectively enhance specific areas. Keyframe animation lets you simulate changing light conditions over time for dynamic presentations.
Conclusion
Mastering the integration of light sources with shading techniques transforms ordinary spaces into visually stunning environments. You’ve learned how to balance natural and artificial lighting while creating depth through strategic shadow placement and contrast manipulation.
The seven techniques covered here give you the foundation to experiment with different lighting scenarios. Whether you’re working with dramatic contrasts or subtle ambient effects you now have the tools to achieve professional-level results.
Remember that successful light integration requires practice and patience. Start with simple setups and gradually incorporate more complex combinations as your confidence grows. Your understanding of how light interacts with shadows will continue to develop with each project you tackle.
Frequently Asked Questions
What is the ideal ratio between highlights and shadows for visual contrast?
The recommended ratio is 3:1 between highlights and shadows for optimal visual contrast. This balance creates dramatic depth without overwhelming the space, allowing your eyes to naturally move through the composition while maintaining visual interest and sophistication.
How should I position my primary light source for the best effect?
Place your primary light source at a 45-degree angle from focal points in your space. This positioning creates natural-looking shadows while highlighting textures and dimensions. Avoid placing lights directly in front of subjects as this can flatten surfaces and reduce visual depth.
What’s the best way to incorporate natural light into my lighting design?
Position primary seating and work areas perpendicular to windows to capture optimal side lighting. Use sheer curtains or light-filtering blinds to diffuse harsh sunlight, and supplement with warm-toned artificial light to maintain consistent illumination throughout changing daylight conditions.
How can I blend multiple light sources effectively?
Layer primary and fill lights strategically, keeping fill lights at 30-50% intensity of your primary source. Maintain consistent spacing between fixtures and group warm and cool lights separately to avoid conflicting temperatures. Use adjustable fixtures to match existing light sources seamlessly.
What are the key differences between primary and secondary light sources?
Primary light sources like overhead fixtures and natural sunlight provide the main illumination foundation for your space. Secondary sources such as wall sconces and task lighting complement the primary sources, adding layers of depth and helping to eliminate harsh shadows.
How does light direction affect the appearance of my space?
Light direction dramatically impacts perception of form and dimension. Side lighting emphasizes texture and creates depth, while front lighting can flatten surfaces. Uplighting creates dramatic silhouettes, and varying light angles helps manipulate shadow depth for specific moods and focal points.
What digital tools can enhance my lighting design process?
Software like Photoshop and Procreate offer digital painting techniques to simulate natural light behavior using soft-edged brushes and layer blending modes. Post-processing tools in After Effects and DaVinci Resolve provide professional-grade filters, color grading, and animation capabilities for dynamic lighting presentations.