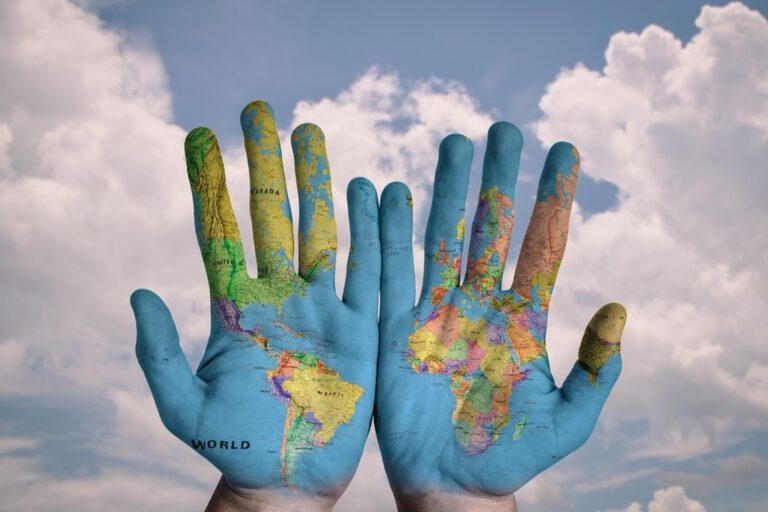
5 Digital Painting Techniques That Create Stunning Topographic Art
Why it matters: Digital topographic aesthetics have become the go-to style for modern designers looking to create depth and visual interest in their work.
The big picture: You can transform flat digital canvases into stunning three-dimensional landscapes using specific painting techniques that mimic natural terrain and elevation patterns.
What’s next: These five proven methods will help you master the art of digital topographic painting and elevate your creative projects with professional-grade results.
Disclosure: As an Amazon Associate, this site earns from qualifying purchases. Thank you!
P.S. check out Udemy’s GIS, Mapping & Remote Sensing courses on sale here…
Layered Contour Mapping Technique
Building topographic depth starts with systematic layer construction that mimics real elevation data. You’ll create convincing terrain by stacking multiple contour levels from base to peak elevations.
Creating Base Elevation Layers
Start with your lowest elevation as the foundation layer using darker values like deep browns or forest greens. Create successive layers at 50-100 foot intervals, gradually lightening each level. Use separate layers for major elevation breaks – valleys, ridgelines, and plateaus – to maintain editing flexibility. Establish your elevation range early by determining your highest and lowest points, then divide this range into 8-12 manageable intervals for optimal visual impact.
Achieve a flawless, even complexion with e.l.f. Flawless Satin Foundation. This lightweight, vegan formula provides medium coverage and a semi-matte finish for all-day wear, while hydrating your skin with glycerin.

Building Depth Through Color Gradients
Apply color transitions that follow natural elevation patterns, moving from cool valley tones to warm peak highlights. Use gradient maps with earth tones – start with deep purples and browns for low areas, transition through greens and tans for mid-elevations, then finish with light browns and whites for peaks. Maintain consistent color temperature shifts across your elevation zones. Adjust opacity between 70-85% on intermediate layers to allow underlying colors to influence the final appearance and create realistic atmospheric perspective.
Blending Contour Lines Seamlessly
Blend adjacent contour levels using soft brushes with 20-40% opacity to eliminate harsh transitions between elevation zones. Focus on areas where contours naturally converge – stream beds, ridge connections, and saddle points between peaks. Use the smudge tool sparingly at 15-25% strength to soften mechanical-looking edges while preserving the essential contour structure. Apply gaussian blur (0.5-1.5 pixel radius) to individual layers before final compositing to achieve that subtle elevation flow characteristic of professional topographic renderings.
Heightfield Displacement Method
Heightfield displacement transforms your flat digital canvas into three-dimensional terrain by using grayscale elevation data to control surface displacement. This technique creates realistic topographic forms by interpreting pixel brightness values as elevation points.
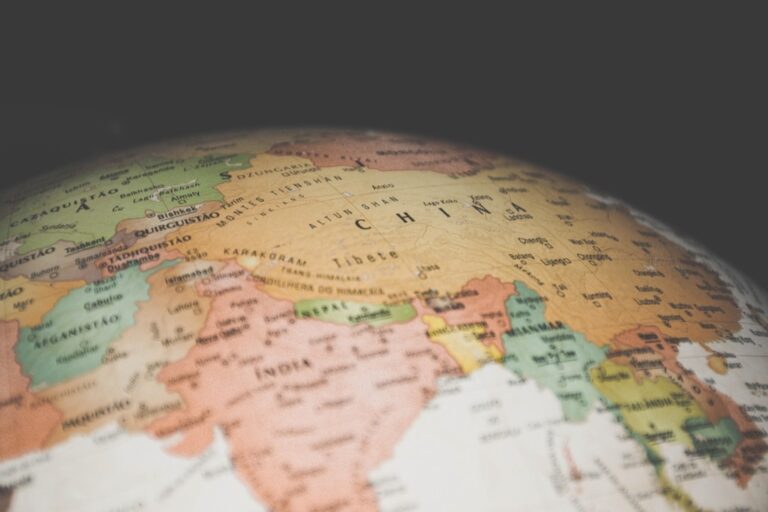
Setting Up Digital Elevation Models
Digital elevation models serve as the foundation for accurate displacement mapping in your topographic artwork. You’ll need to source DEMs from USGS Earth Explorer or NASA’s SRTM database for real-world terrain data. Import your chosen DEM file into your digital painting software and convert it to a 16-bit grayscale format to preserve elevation detail. Adjust the contrast and brightness levels to match your desired elevation range, ensuring white pixels represent peaks and black pixels represent valleys.
Applying Displacement Maps
Displacement maps control how your base surface responds to elevation data during the rendering process. Create a new displacement layer in your painting software and link it to your prepared DEM file. Set your displacement strength between 50-200 pixels depending on your canvas size and desired terrain drama. Apply the displacement effect using either height-based or vector-based displacement algorithms. Fine-tune the displacement direction to ensure peaks rise upward and valleys sink downward naturally.
Fine-Tuning Surface Details
Surface details bring your heightfield displacement to life through careful adjustment of micro-elevation features. Use erosion and dilation filters on your displacement map to simulate natural weathering patterns and water flow channels. Add noise layers with 10-15% opacity to create realistic surface texture variations across different elevation zones. Blend multiple displacement maps at varying scales to achieve complex terrain features like ridgelines, cliff faces, and river valleys that mirror real topographic complexity.
Atmospheric Perspective Rendering
Atmospheric perspective rendering creates the illusion of vast distances by mimicking how the atmosphere affects visual perception across terrain. This technique transforms flat topographic elements into convincing three-dimensional landscapes with measurable depth.
Establishing Aerial Distance Effects
Distance-based contrast reduction forms the foundation of atmospheric perspective in digital topography. Reduce contrast progressively as terrain features recede into the background, decreasing both highlight intensity and shadow depth by 15-20% per distance tier. Apply this reduction systematically across elevation zones, with foreground elements maintaining 100% contrast while distant peaks drop to 30-40% contrast levels.
Color Temperature Shifts for Depth
Color temperature manipulation enhances depth perception through strategic warm-to-cool transitions across your topographic composition. Warm your foreground elements using reds and oranges in the 3200-3800K range, then shift progressively cooler toward blues and purples in the 5600-6500K range for distant terrain. This temperature gradient mimics natural atmospheric scattering and reinforces the sense of receding landscape layers.
Haze and Fog Integration
Atmospheric haze effects add realistic depth cues by introducing subtle opacity layers between terrain elements. Create separate haze layers using soft brushes with 10-30% opacity, applying cooler tones that match your distant color temperature. Vary haze density based on elevation changes and terrain complexity, with thicker accumulations in valleys and lighter coverage on ridgelines to simulate natural atmospheric behavior.
Texture Overlay Blending Approach
You’ll achieve photorealistic topographic aesthetics by strategically combining authentic terrain textures with your digital elevation models. This technique builds upon your atmospheric perspective work by adding tactile surface details that respond to elevation changes.
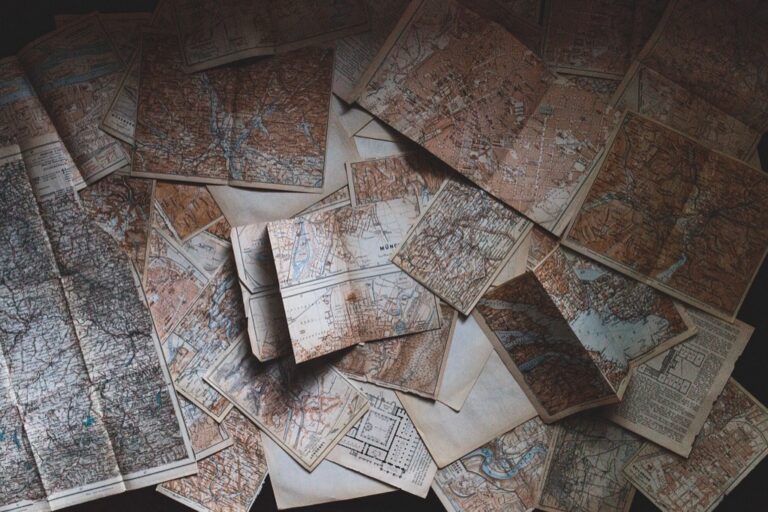
Sourcing Authentic Terrain Textures
Capture high-resolution texture samples from geological survey databases like USGS PhotoLib or NASA’s Visible Earth archives. You’ll find seamless rock formations, soil patterns, and vegetation textures at 4K resolution or higher. Download textures in PNG format to preserve transparency channels. Organize your texture library by geological type – sedimentary, igneous, and metamorphic categories. Prioritize textures with neutral lighting conditions to avoid conflicting shadows when applied to your elevation models.
Combining Multiple Surface Materials
Layer different texture types using blend modes that respond to elevation data from your heightfield displacement work. You’ll apply rock textures to steep slopes above 30-degree angles while reserving soil and vegetation textures for gentler gradients. Set blend modes to “Multiply” for darker materials like volcanic rock and “Overlay” for lighter sediments. Adjust opacity values between 40-70% to maintain your underlying elevation details. Create transition zones between materials using 20-30 pixel feathered selections.
Masking and Selective Application
Generate slope-based masks from your displacement data to control where each texture appears naturally. You’ll create masks using the “Select by Color Range” tool on your grayscale elevation map. Apply erosion filters to mask edges for organic transitions between texture zones. Use layer masks with 15% opacity gradients to blend textures seamlessly at material boundaries. Combine multiple masks using “Intersect” operations to target specific elevation and slope combinations for precise material placement.
Procedural Noise Generation Technique
Procedural noise transforms your digital terrain from predictable patterns into organic, naturally-varying landscapes. This computational approach generates realistic surface irregularities that mirror the complex variations found in actual topographic features.
Implementing Perlin Noise Patterns
You’ll achieve authentic terrain variation by implementing Perlin noise algorithms in your digital painting software. Configure your noise generator with frequency values between 0.1 and 0.5 for base terrain features, adjusting amplitude to control elevation variation intensity. Apply the noise pattern to your displacement layer using multiply or overlay blend modes, ensuring the generated values correspond to realistic elevation changes across your topographic canvas.
Scaling Noise for Realistic Variation
Scale your noise patterns according to the terrain scale you’re depicting to maintain geological accuracy. Use large-scale noise (low frequency) for major mountain ridges and valleys, while applying smaller-scale variations for surface texture details. Adjust noise octaves between 4-8 levels to create multi-scale terrain features, with each octave contributing decreasing amplitude values that simulate natural erosion patterns and geological formation processes.
Combining Multiple Noise Layers
Layer multiple noise patterns with different frequencies and amplitudes to create complex terrain systems. Start with your base noise layer for primary elevation features, then add secondary layers at 50% opacity for mid-scale variations like ridges and valleys. Include fine-detail noise layers at 25% opacity for surface texture, using different blend modes like soft light or hard light to control how each noise layer interacts with your existing topographic structure.
Conclusion
Mastering these five digital painting techniques will transform your approach to creating compelling topographic aesthetics. You now have the tools to build convincing terrain that captures both the technical precision of real elevation data and the artistic beauty of natural landscapes.
Your success depends on combining these methods strategically rather than relying on just one approach. Layer contour mapping with atmospheric perspective to create depth while using procedural noise to add organic variation. Blend texture overlays with heightfield displacement for photorealistic results that engage viewers.
Practice each technique individually before combining them into complex compositions. Start with simple terrain features and gradually build complexity as your confidence grows. Remember that authentic topographic aesthetics come from understanding how these methods work together to replicate nature’s intricate patterns and visual relationships.
Frequently Asked Questions
What are digital topographic aesthetics and why are they popular in modern design?
Digital topographic aesthetics are visual design techniques that create the appearance of three-dimensional terrain and elevation patterns on flat digital surfaces. They’re popular because they add depth, visual interest, and a sophisticated natural element to designs, transforming ordinary flat canvases into engaging landscape-like compositions that capture viewers’ attention.
What is the Layered Contour Mapping Technique?
The Layered Contour Mapping Technique is a systematic approach to creating topographic effects by building successive elevation layers. You start with a dark base layer representing the lowest elevation, then add lighter layers at regular intervals to show elevation changes. This method uses color gradients and earth tones to create realistic depth and dimension.
How does the Heightfield Displacement Method work?
The Heightfield Displacement Method uses grayscale elevation data (Digital Elevation Models) to create three-dimensional terrain effects. Darker areas represent lower elevations while lighter areas show higher elevations. The grayscale data controls how much the surface is displaced, creating realistic topographic variations when applied to your digital canvas.
What is Atmospheric Perspective Rendering in topographic design?
Atmospheric Perspective Rendering mimics how distance affects visual perception in real landscapes. This technique reduces contrast for distant terrain features, shifts colors from warm (foreground) to cool (background), and adds haze or fog effects. These elements work together to create the illusion of vast distances and atmospheric depth.
How do you use the Texture Overlay Blending Approach?
The Texture Overlay Blending Approach combines authentic terrain textures with elevation data to create photorealistic topographic effects. You source high-resolution geological textures, organize them by material type, and apply different textures based on elevation and slope angles. Blend modes help create smooth transitions between different surface materials.
What is Procedural Noise Generation in topographic painting?
Procedural Noise Generation uses mathematical algorithms, particularly Perlin noise, to create organic, naturally-varying terrain patterns. By adjusting frequency and amplitude settings, you can generate realistic elevation variations that look natural rather than artificial. Multiple noise layers can be combined to create complex, realistic topographic systems.
How do masking and selective application techniques work?
Masking and selective application techniques use slope-based masks generated from displacement data to control where textures are applied. These masks allow you to place specific materials only on certain elevations or slope angles, creating realistic geological transitions. Erosion filters and layer masks help create organic, natural-looking boundaries between different terrain types.
What software and tools are needed for digital topographic painting?
Most digital painting software can be used for topographic effects, including Photoshop, GIMP, or specialized 3D applications. You’ll need access to Digital Elevation Model (DEM) data from sources like USGS Earth Explorer or NASA’s SRTM database. High-resolution texture samples from geological surveys are also helpful for realistic results.
How do you create realistic color gradients for topographic effects?
Use earth tones as your base palette and maintain consistent color temperature shifts across elevation zones. Start with darker, warmer colors for lower elevations and gradually transition to lighter, cooler tones for higher elevations. Soft brushes and gaussian blur help blend transitions naturally without harsh edges.
What are the key principles for achieving professional topographic results?
Focus on systematic layer construction, use authentic reference data when possible, maintain consistent lighting and color temperature throughout your work, blend transitions smoothly, and combine multiple techniques for complex results. Pay attention to natural terrain patterns and geological accuracy to enhance realism.