10 Key Steps to Mastering Map Restoration
Embarking on the journey of map restoration is like being a detective and an artist rolled into one. It’s a meticulous process that breathes new life into historical treasures, and mastering it can be incredibly rewarding.
Disclosure: As an Amazon Associate, this site earns from qualifying purchases. Thank you!
1. Understanding Map Degradation
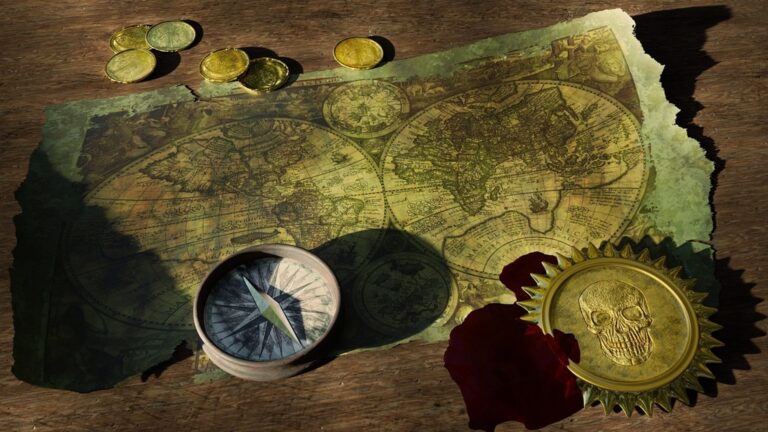
Map degradation is the map collector’s nemesis, but understanding it is the first step to beating it. Paper maps are vulnerable to light, moisture, and even the oils from our hands. Over time, these elements can cause fading, tearing, and even mold. It’s like watching a piece of history disintegrate, which is heart-wrenching if you’re a map aficionado like me.
Navigate North America with ease using the Rand McNally 2025 Large Scale Road Atlas. Featuring updated, large-print maps of every U.S. state and Canadian province, plus detailed city and national park insets, it's perfect for any road trip.

The good news is, that knowing the enemy helps us plan our restoration strategy. (And let’s face it, there’s something oddly satisfying about identifying all the ways a map has suffered over the centuries.)
P.S. check out Udemy’s GIS, Mapping & Remote Sensing courses on sale here…
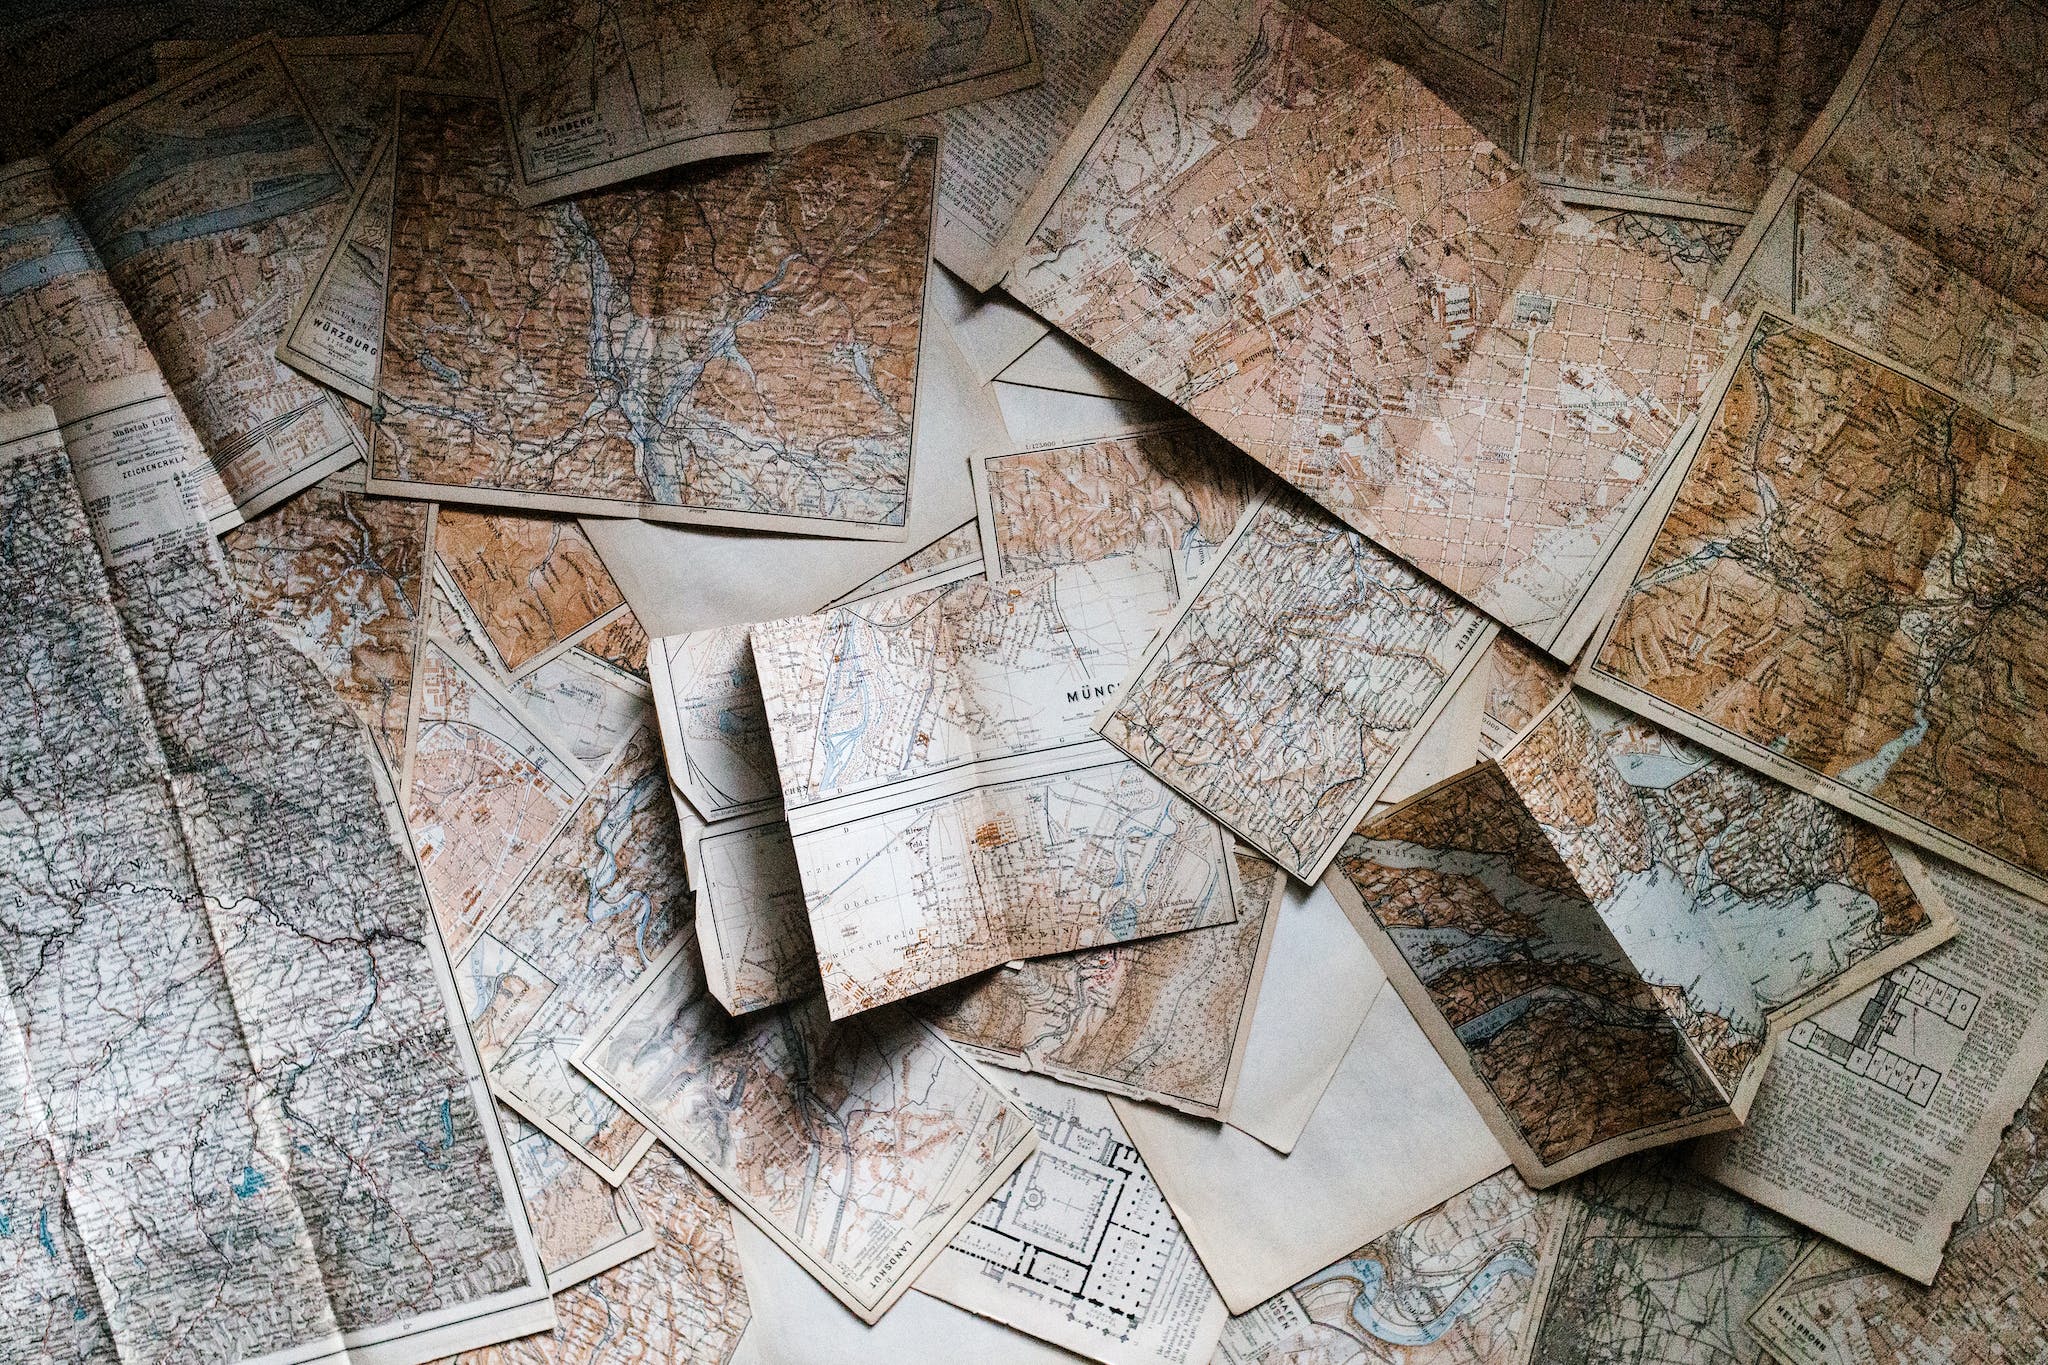
2. Preparing for Map Restoration
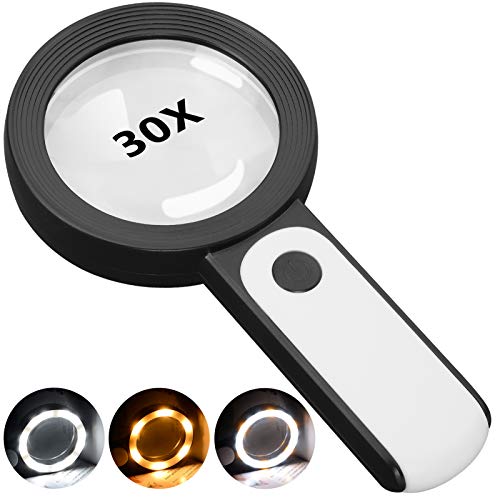
Before diving into restoration, it’s vital to prep like a pro. Assess the map’s condition and document any damage – think of it as a map’s medical record. Next, gather the right tools: acid-free materials, specialized cleaning solutions, and maybe a good magnifying glass. It’s like prepping for surgery; you wouldn’t want to start without sterilizing your instruments, would you?
This 30X magnifying glass helps users with low vision easily read small text. Featuring a large 3.15" lens and 18 LEDs with adjustable cool, warm, and mixed light modes, it reduces eye strain and improves reading in any lighting.
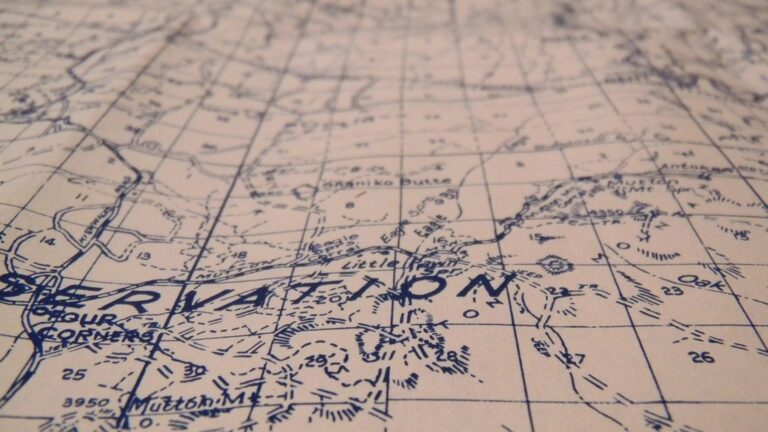
3. Cleaning and Stabilizing the Map
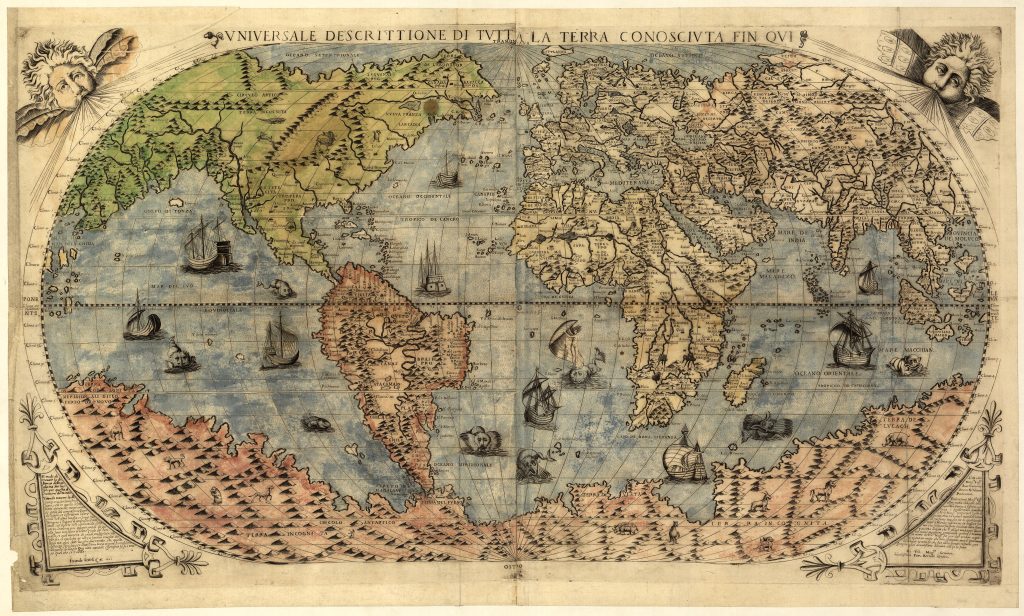
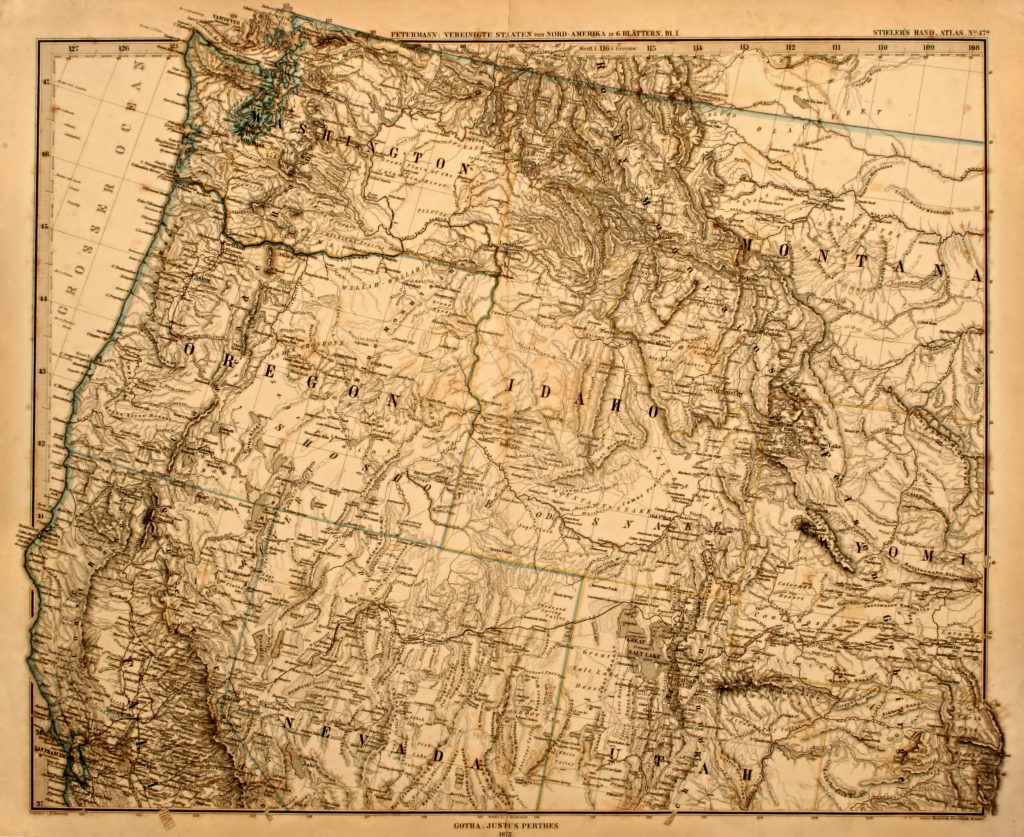 vintage map of the US Pacific Northwest printed in 1875.” class=”wp-image-225″/>
Enhance your space with this 24x36 antique world map poster. Printed in full color on high-quality paper, it ships securely in a protective cardboard tube.

Cleaning is a delicate dance with solvents and soft brushes. It’s not just about making it look pretty; you’re removing harmful substances that could make the map’s condition worse. Stabilizing is the next critical step – it’s like setting a broken bone so it heals correctly. Using archival-quality materials ensures the map doesn’t deteriorate further. (Remember, patience is key here; rushing could mean botching the job.)
4. Repairing Tears and Folds
Tears and folds in a map can be like wrinkles and scars – they tell a story but can be unsightly. Repairing them is a meticulous task, often involving Japanese tissue paper, which is as thin as a whisper and strong as a shout. The aim is to make the repair invisible, a seamless blend between old and new. It’s a bit like performing cosmetic surgery on a historical document!
Create beautiful crafts with this A4 mulberry paper. Made from natural plant fibers, these sheets offer a unique texture perfect for painting, writing, decoupage, and more.

5. Digital Restoration Techniques
Sometimes, the best way to restore a map is to give it a digital makeover. Scanning the map at a high resolution captures every detail, like a snapshot of its current state. Then, using software to retouch and repair, we can work miracles that physical restoration alone can’t achieve. It’s a blend of old-world charm and new-age tech that can be quite the game-changer.
6. Inpainting Missing Information
Inpainting is like being a historical detective, filling in the blanks where parts of the map have been lost. It requires a mix of research, artistry, and educated guesswork. The goal is to be as accurate as possible, respecting the map’s original intent. (It’s a bit like time-traveling to the past and getting a glimpse of the cartographer’s mind.)
7. Color Correction and Balancing
Color correction isn’t just for Instagram influencers; it’s crucial in map restoration too. Over time, colors fade or change tone, and it’s our job to bring them back to their former glory. This requires a keen eye and a gentle hand. Balancing the colors so they’re harmonious, yet true to the original, is an art form in itself.
8. Final Touches and Preservation
The final touches on a restored map are like the icing on a cake – they must be perfect. This might involve a protective coating or placing the map in an archival mat. Then, it’s all about proper storage. Think of it as tucking your map into bed, safe and sound, away from the elements that once caused it so much harm.
9. Quality Check and Documentation
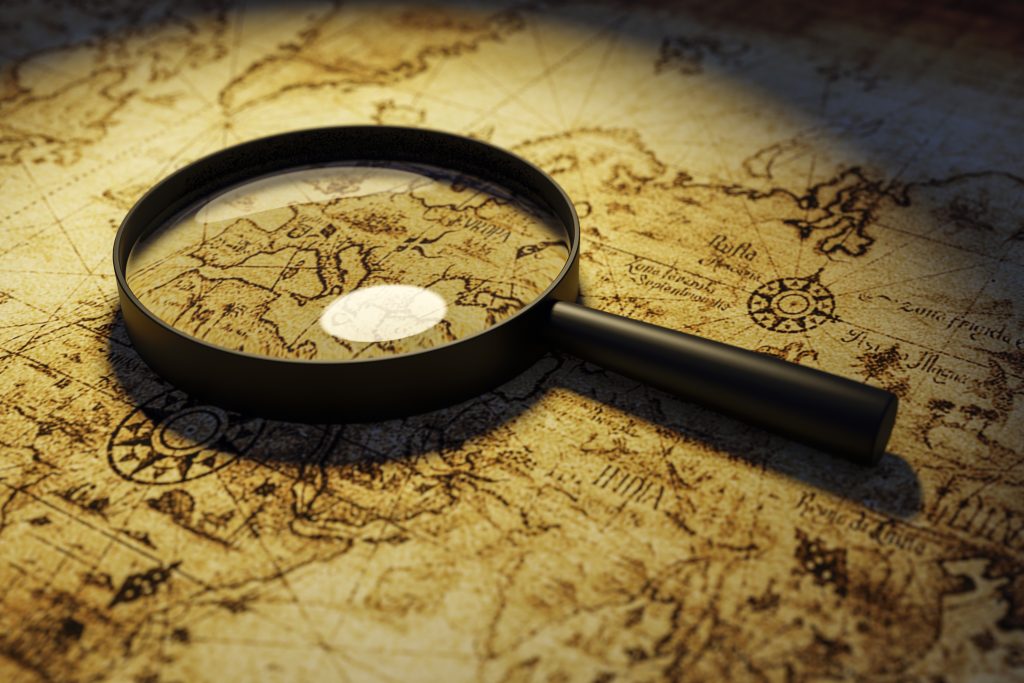 magnifying glass lies on the table surface close-up.” class=”wp-image-227″/>
No restoration is complete without a thorough quality check. It’s like proofreading an important email before hitting send – you want to catch every typo. Documenting every step of the restoration process is also crucial. It provides a record for future caretakers and adds to the map’s story. (Plus, it’s always a bit of a proud moment to look back on the transformation.)
10. Displaying Restored Maps Safely
Finally, displaying a restored map safely is about showing it off without putting it at risk. Use UV-filtering glass and keep it away from direct sunlight. It’s like putting on sunscreen before a day at the beach – protection is key. After all, you’ve put too much work into restoring the map to let it fade into obscurity again.
Map restoration is an art that demands patience, precision, and a touch of creativity. By following these steps, you’ll not only preserve a piece of history but also gain an intimate connection with the past, one map at a time.